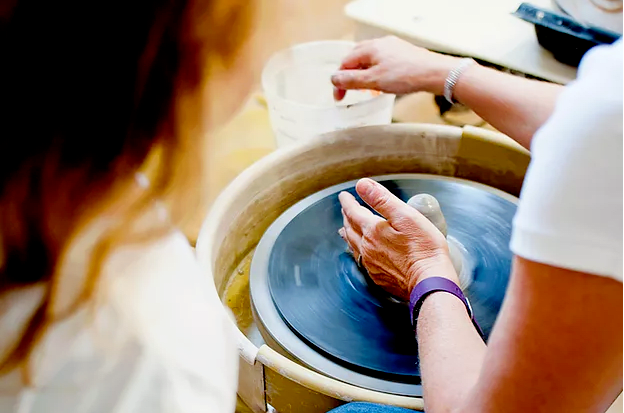
Day 1 & Day 2: Preparing Clay and Centering
In the first session, students will learn how to prepare and wedge their own clay. They will be taught the "Bull's/Ram’s head" method to ready clay for throwing. They will then be introduced to the first step to working on the wheel, Centering.
Day 3 & Day 4: Cylinder
Students learn the next crucial step which is how to open the centered mound of clay, make a base, and pull up walls to make the most basic form, the Cylinder.
Day 5 & Day 6: Shaping Techniques
Once students have learnt how to make cylinders, the next step is to convert them into different shapes. This class will focus on making cups, bowls and vases.
Day 7: Trimming, Finishing, and Attachments
In this class, students will be taught how to finish their pieces in preparation for firing: trimming to remove extra clay, adding a foot ring to the base and attaching handles/knobs.
Day 8: Finishing and Introduction to Glazing
Students are taught how to finish their pots with attention to details. In this session, you also get a demonstration of how to apply glazes, which is the last step of the process.
Included:
- Tools
- Apron
- Unlimited clay
- Students will be allowed to choose SIX finished pieces that they've made throughout the 4 weeks to be bisque-fired. Once the pieces have been bisque-fired, students will need to visit the studio to glaze their pieces before the final glaze-firing after which they will be ready for collection.

